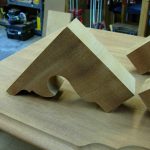
First we are pattern routing the drawer blades using a 1/4 ” spiral double ball bearing flush trimming bit..
Next we need to need to start creating the beading on the drawer blades, this is done with a 3/8 slotting bit in two passes…
Finally the actual bead is cut using a 3/32 radius beading bit with an oversize bearing..
The beading on the drawer blades is not complete, as the router cannot cut the bead in the sharp corners, this needs to be completed by hand using carving gouges and some riffers (note how the bead is now properly shaped in the 90 degree corner)…
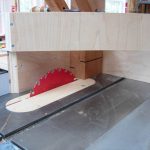
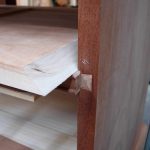
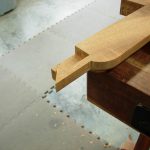
Next step to remove the excess material from the sliding dovetail pins on the drawer blades, as the drawer blades actually stand proud of the case sides (as seen in the picture above) by a scant 1/2 (15/32 actual), this leaves room for a moulding that is applied to the case sides, that contains the cockbeading for the front inside edges of the case.


